

Amy’s Free Ideas
cabinet
sink
oven
Kitchen cabinets
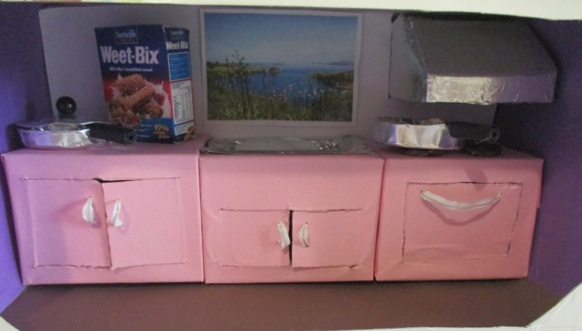
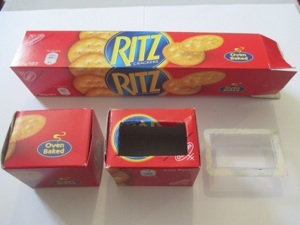
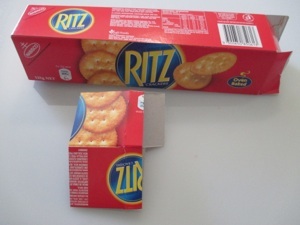
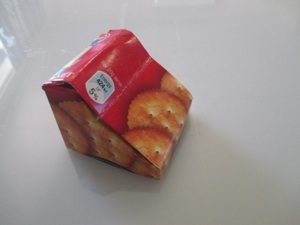
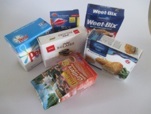
Find a box that will make a good size to make kitchen cabinets in your kitchen. You may be tempted to use one long box to fill the space, but if you plan to cut doors in the boxes, it will make the structure quite weak. It is better to cut the box into 2 sections--each cupboard will be much sturdier. Shown here is one cupboard, one sink, and one oven. Measure the room to make sure all 3 will fit once installed.
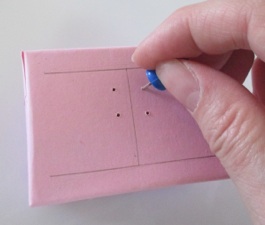
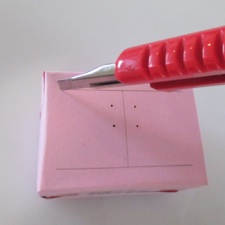
Cut each corner down about an inch so to make flaps to make it into a box. Fold each flap completely against the inside of the box to make a good firm, straight fold. Then pull the flap perpendicular to the side and glue shut. Glue colored paper onto each box. Draw lines on the front for where the doors will be cut. BEFORE cutting the doors, poke holes in the doors where the handles will go with a sharp instrument such as a tack or push pin.
Use a sharp craft knife or box cutter to cut the doors. If the blade leaves a ragged cut, replace the dull blade with a sharp new one. A dull blade is also likely to bend the doors before it actually cuts a hole, so make sure the blade is sharp. Carefully open doors and fold all the way open. Press the fold with your fingers to make a good “hinge” for the door.
Handles for Kitchen Cabinet Doors
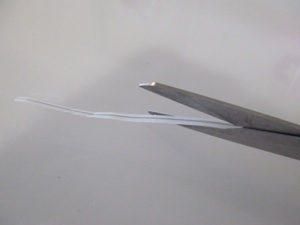
Plastic coated wire, such as twist-ties, makes a good door handle. Use scissors to cut both ends in a sharp point to make it easier to get through the tiny hole.
Poke both ends of the coated wires through the holes. Just make sure it sticks out far enough that you can grab it with your fingers. If you don’t have plastic coated wire, you could make handles with thread, yarn, or string.
Twist the ends of the wire together to keep them from coming out. Cover the ends with electrical tape to keep little fingers from getting poked on the sharp ends.
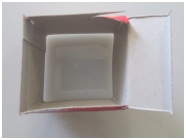
Kitchen Sink
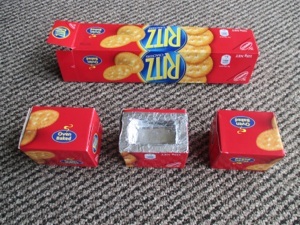
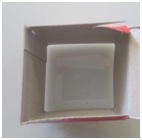
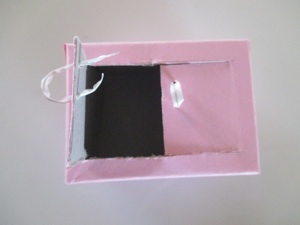
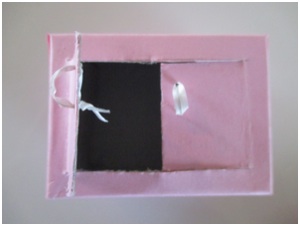
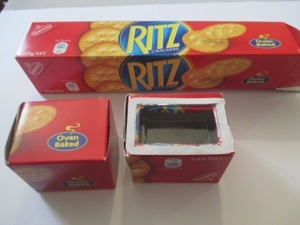
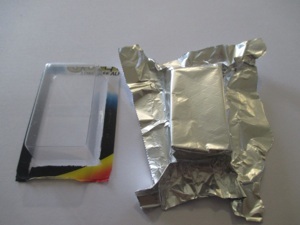
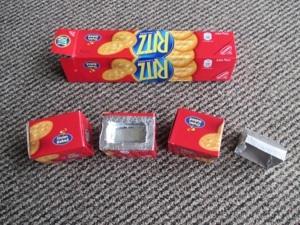
Make a box for the sink in the same way as shown above for the cabinet. Find a clear plastic package, such batteries are sold in, that will be a good size for a sink. Cut a hole in the top of the cabinet box that the sink can fit into. The rim on the plastic container will keep the sink from falling in.
Cover the box with colored paper, but when you cut the doors, make them come below where the sink comes--so the doors will be shorter than the doors on the cabinet.

cabinet
sink cabinet
sink
Make the sink silver by gluing tinfoil to the under side/outside. If you glue the foil to the inside of the sink, it can get pealed off when dishes are put in the sink.
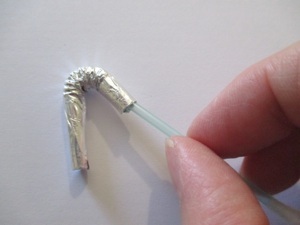
Kitchen Sink Faucet
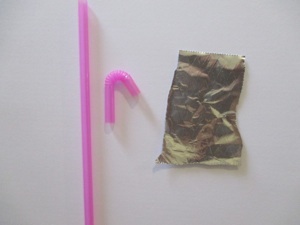
Cut off a flexible straw to make the faucet. Put glue on the plastic straw, and wrap a small piece of tinfoil around the straw. ( I used glue stick for this.) Use your fingers to press out as many wrinkles as you can. Push the ends of the tinfoil inside the straw with a q-tip.
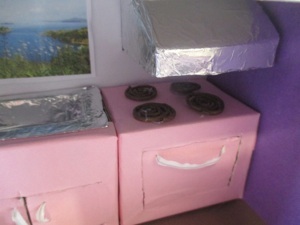
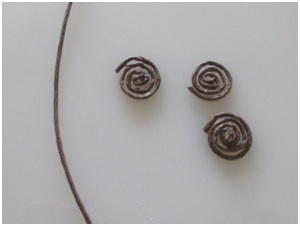
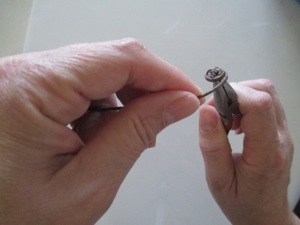
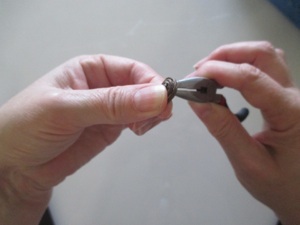
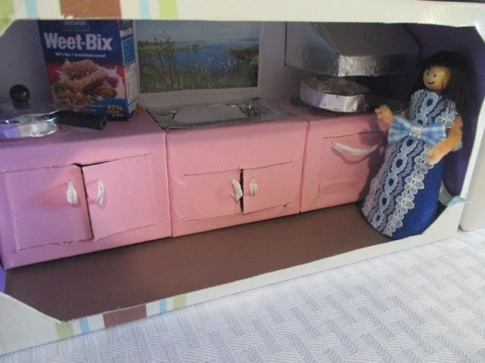
To make the burners on top of the stove, you can simply use a fine-tip marker to draw spirals for an electric range, or the black supports for a gas range. If you want it to be 3-D, you can coil coated wire into a spiral and glue it on. Use pliers to hold the end and wrap the wire around it, and press the spiral between your fingers to keep the coils flat. Glue these spirals to the top of the oven.
Oven and Stove-top
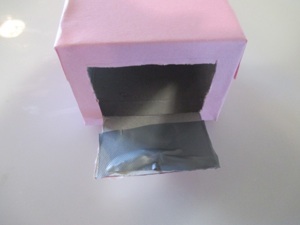
Make the oven in the same way as the kitchen cabinet shown above, but make the door open from the top rather than from the middle. Make a longer handle for opening the oven.
cabinet
sink
oven
hood
Pull the front section out in front of the side pieces and fold the side pieces back under the front. Glue the front section onto these folded-in sides.
Range Hood
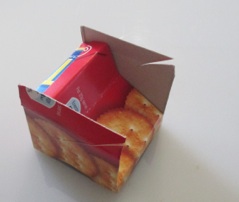
Cut a short section from a small box. It is good to check it above the oven when it is in the kitchen to make sure there is room for the pots and pans to fit between the burners and the stove. I had to cut the first one that I made way shorter than I first cut it.
Cut the back 2 corners about 1/4 inch (1 cm) down from the top, and cut the front 2 corners down to 1/4 inch from the bottom. Fold this long front flap in 3 places: 1) where the cuts end (1/4 inch from the bottom) 2) 1/4 inch from the top (where the hood will meet the ceiling, and 3) about 2/3 of the way up, so that the bottom 2/3 is on a slant.
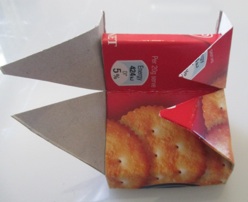
Cut both sides from the corner down to the fold that is 2/3 of the way up the front. Fold all the sections of these sides over the front.
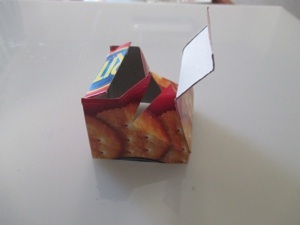
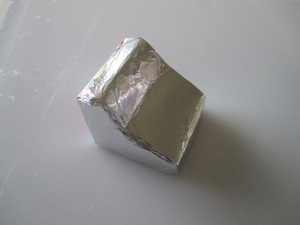
Rub glue stick all over the cardboard hood range and press tinfoil over the hood. Press out as many wrinkles as possible. Glue the back to the wall over the stove, and the top to the ceiling.
Crafts > Crafts for Adults by materials > Tissue box doll house > How to make a miniature kitchen
Crafts > Crafts for Girls > Tissue box doll house > How to make a miniature kitchen