Amy’s Free Ideas


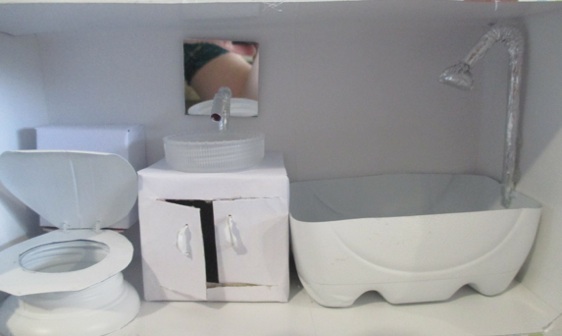
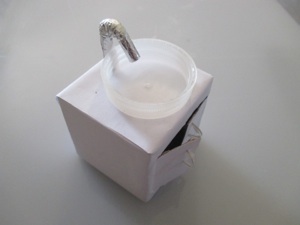
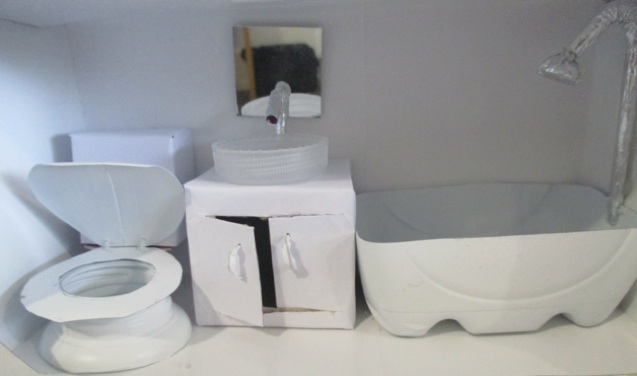
Bathroom cabinet and sink
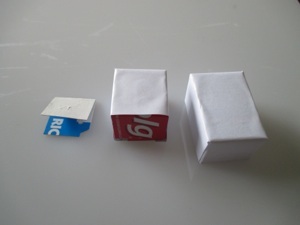
Make a cabinet out of an empty cardboard box. Add a bottle cap for a sink. For an alternate way to make a sink, see the kitchen page.
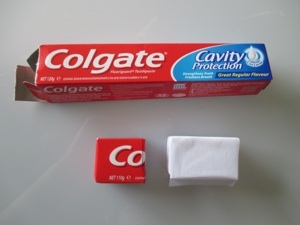
A toothpaste box is the right size for both the cabinet and tank for the toilet. Cut the box to the size you want, with extra for making flaps to close the box. Cut all 4 corners about an inch, then fold these flaps to make a new end of the box.
Cover the box(es) with white paper, or colored paper, if you prefer.
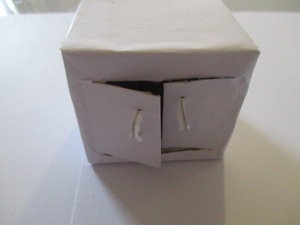
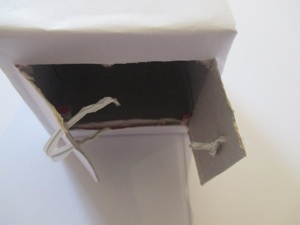
Draw lines where you want to cut the doors, but before you cut, poke 2 holes in each door for handles. Next cut the doors in the front of the cabinet. Be sure to use a sharp knife or the cuts will be ragged.
Poke a wire into the 2 holes and twist on the inside of the door. Twist-ties work well for this. If you have trouble getting the wire through the hole, cut the end into a point. Tape the sharp ends on the inside to protect small fingers from scratches.
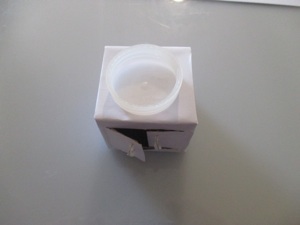
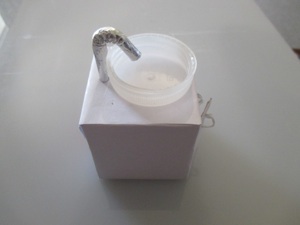
Glue a bottle cap to the top for a sink.
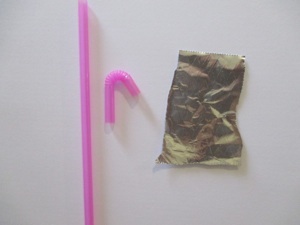
Faucet
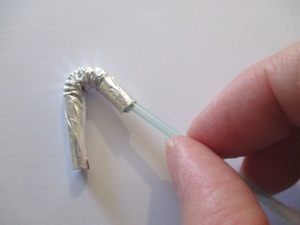
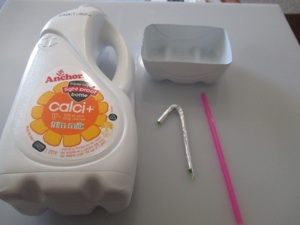
Make a faucet with a flexible straw and some tinfoil. Cut just below and above the flexible part of the straw. Rub glue stick onto the plastic straw and press tinfoil onto the straw.
Press out as many wrinkles as you can. Push the extra tinfoil into the hole of the straw with a Q-tip (cotton swab.)
Glue the faucet to the back of the sink and cabinet. A glue gun is a good way to glue this.
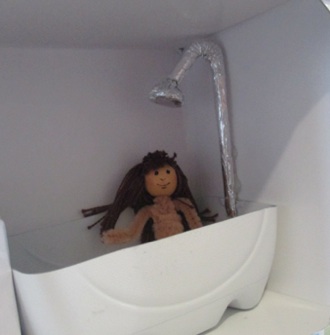
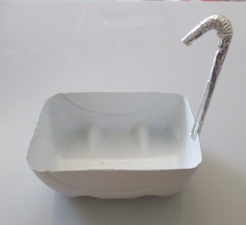
Bathtub and shower
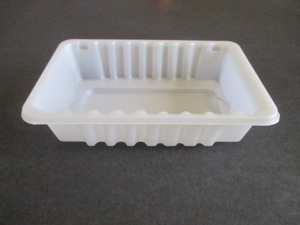
Look for some kind of plastic container, whether it is a margarine tub, or yogurt tub, or the bottom of a milk carton.
Even part of packing can be turned into a bathtub.
This bathtub is cut off from the bottom of a milk carton.
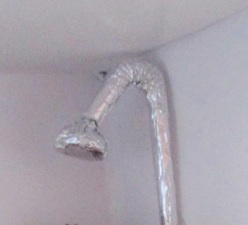
Shower
Make a shower in the same way as a faucet with a flexible straw and some tinfoil. Cut well below flexible part of the straw and just a bit above it. Rub glue stick onto the plastic straw and press tinfoil onto the straw. If the bathtub has a thin edge, you can cut a slit in the bottom of the straw and slide it over the edge of the bathtub.
Press out as many wrinkles as you can. Push the extra tinfoil into the hole of the straw with a Q-tip (cotton swab.)
If you want to make a head on the shower, drop a bit of glue from the glue-gun onto a small square of tinfoil. After the glue has hardened, pull the tinfoil up around the glue and twist it like a chocolate Kiss. Put glue on the twisted end of foil and push it into the open end of the straw.
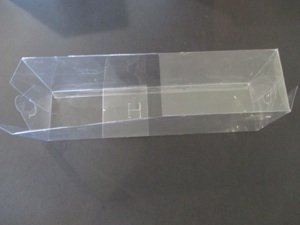
If you have a clear plastic box that a product was sold in, you can cut off part of it to be a shower stall for the doll house.
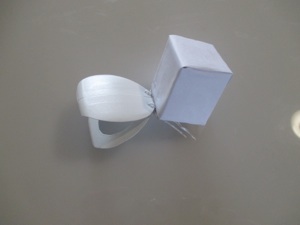
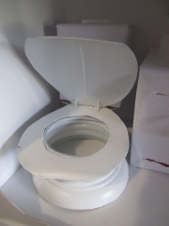
Toilet
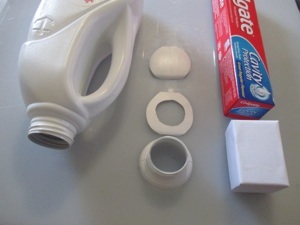
Look around for white plastic containers that might work for a toilet. I used the screw-top section of a white plastic milk bottle to be the base of the toilet.
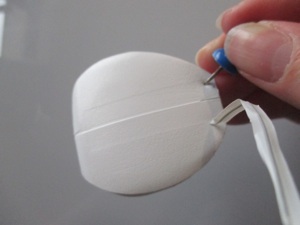
Cut the lid and seat out of the soft plastic as well. The lid of this toilet was cut out of the front of the bottle where there was a curve in the surface so it wasn’t completely flat. Poke 2 holes into the back of the lid and seat at the same time so the holes are lined up. Poke a wire or twist-tie through each hole.
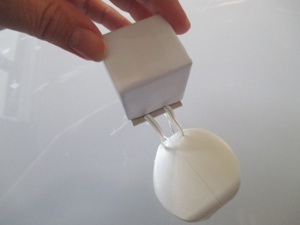
Make the water tank out of a toothpaste box like the cabinet at the top of this page. Poke holes in the bottom of the box, and push the ends of the wires on the lid and seat through the box as well.
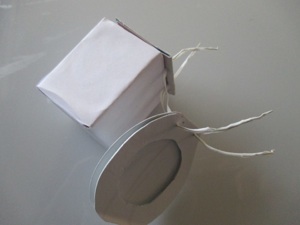
Pull the wires through the box and pull tight, but not so tight that you can’t lift the lid and the seat. They should rotate fairly easily. Twist the ends of the wires to fasten.
Glue the tank to the bathroom wall so that the seat and lid rest on the bottle-top base of the toilet. If you are in a country where there are buttons on the top of the tank to flush the toilet, you can make similar looking buttons for this toilet. Cut small ovals out of foam-style double-stick tape. Peal off the one side only, and fasten to the top of the tank. Leave the backing on the top. When you press it, it will move down a bit. Alas, no water will flush!
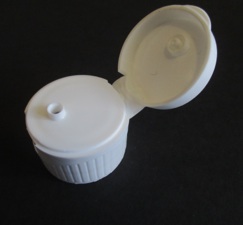
Another option for a toilet is to use a white bottle cap--it already has a lid on it. You could use this as is, or here are 3 ways to make it look more like a toilet:
1.Use a permanent marker to draw a black circle in the middle of the lid to make it look like it has a bigger hole
2.Use an electric drill to drill a bigger hole--be sure to hold the lid in a vice while you drill so you don’t mutilate your fingers!
3. Heat a nail on a stove burner, and using pliers or a hot pad to hold it, melt a bigger hole in the plastic lid. Be careful not to burn yourself!


Crafts > Crafts for Adults by materials > Tissue box doll house > How to make a miniature bathroom
Crafts > Crafts for Girls > Tissue box doll house > How to make a miniature bathroom