Sunday School or Bible Clubs > Crafts > Printable Easter Booklet, Luke 24, Road to Emmaus
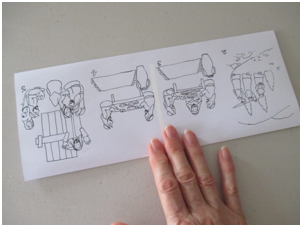
Print out sheet.
Fold in half the long way.
Fold in half so that page 1 and 2 are on the front side, and 3 and 4 are on the back side.
Fold ONLY the top layer so that the left edge exactly meets the right edge. This forms the front cover.
Flip it over and fold the back side to meet the opposite edge, too. The booklet is complete.
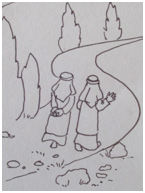
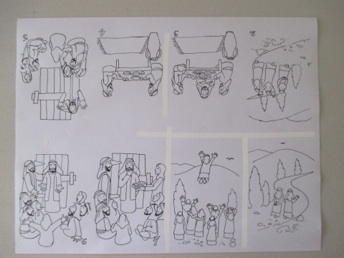
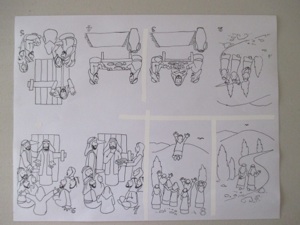
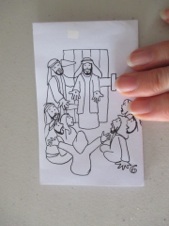
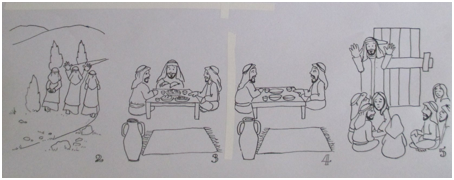
1. Cover: Two disciples (Cleopas and one other) are walking toward the town of Emmaus after Jesus died. (Luke 24: 13-14)
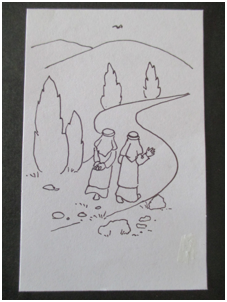
2. Jesus appears and starts walking and talking with them. (Luke 24: 15-29)
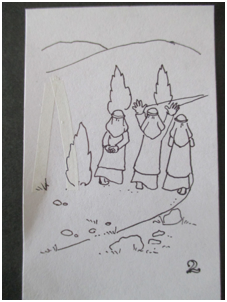
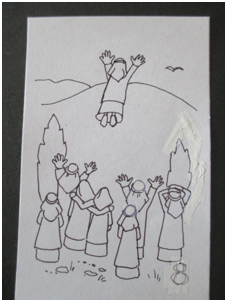
4. Jesus disappears and the two disciples are shocked. They run back to Jerusalem. (Luke 24: 31-33)
Explanation for Each Page (John 21:1-18) The road to Emmaus
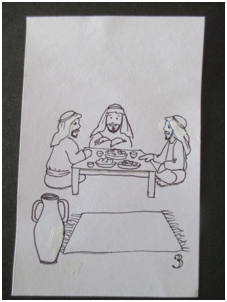
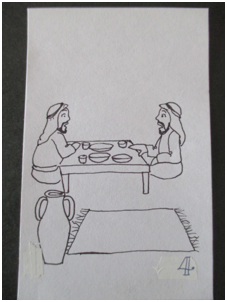
3. They convince Jesus to stop and eat with them. Jesus continues teaching them all the Old Testament prophesies that fortold his death and resurrection. (Luke 24: 30-32)
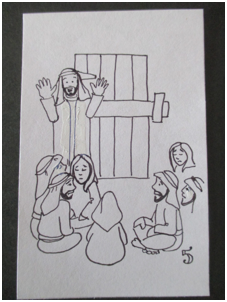
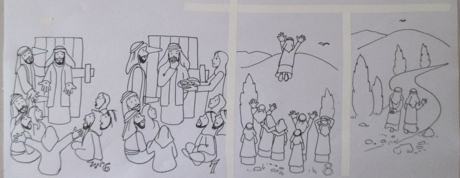
5. The two disciples tell the disciples about eating with Jesus. ((Luke 24: 33-35)
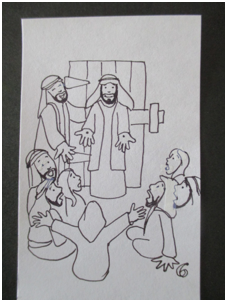
6. While they are still talking, Jesus appears in the locked room. (Luke 24: 36-39)
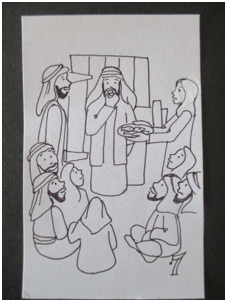
7. Jesus asks if they have anything to eat to prove that he is not a ghost.
(Luke 24: 40-49)
8. Jesus leads them out to Bethany, then returns to heaven. (Luke 24:50-53)
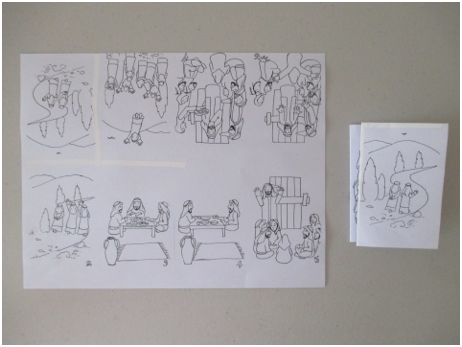
Download this 8 page booklet to celebrate Easter--perfect for Sunday school or family devotions. Just fold 4 times, and it is done. Or cut it into an egg shape and decorate with stickers, or color in the design.
You can also cut the pages of the book apart, and take turns seeing who can put the pictures in order the fastest. (A stop watch makes this easy to do.) Or, instead of speed, turn it into a different game: Turn some of the pictures face down and let your children identify the missing picture, or swap a couple of pictures and see if they can guess which ones are in the wrong place.
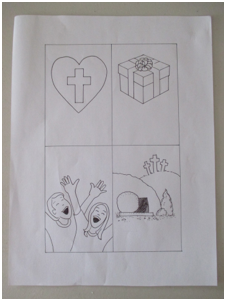
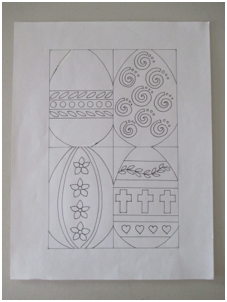
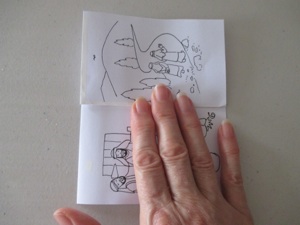
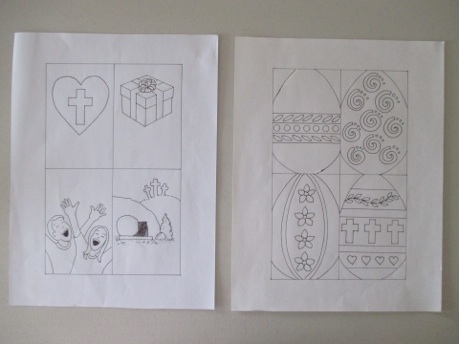
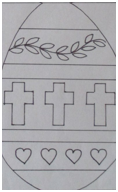
There are 4 alternate cover designs, and also 4 egg designs that you can use to make a different cover. Simply download the alternate design, cut out the cover of your choice, glue to the front of the booklet, and make copies from there.
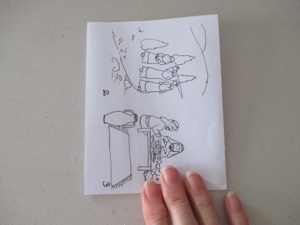
Optional: Cut the booklet into an egg shape.
Note: Children will not have the strength to cut this many layers at once, so either fold and cut them before class, or have lots of helpers with good pairs of scissors to cut them out during the class.
These booklets start on one side, then continue on the back. Another option would be to cut the printed sheet in half instead of folding it in half. Then tape the 2 strips end to end, and accordion fold the booklet pages all the way to the end. Then there is no need to flip the book over to finish the story. It’s a bit more work this way, but may be worth the extra effort.
NOTE: Be careful to NOT cut the top and sides--leave these as folds, or none of the pages will be attached--each page will be separate. If this does happen, just staple the pages together for that booklet, and be more careful about cutting out the next one!
These booklets are wordless so that they can be used in any language. Just in case it is not clear what each of the pages represents, here is an explanation of each page.