Amy’s Free Ideas
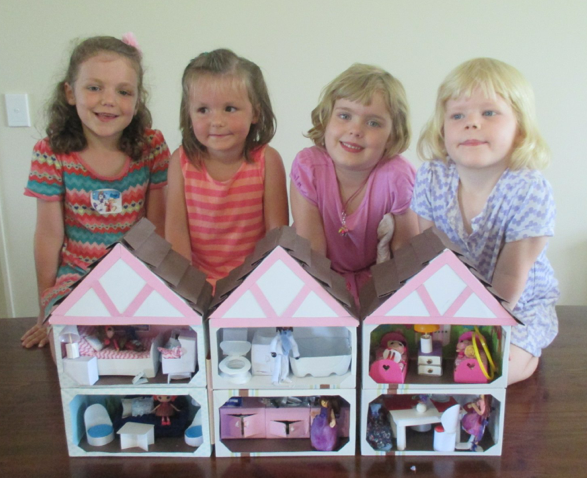


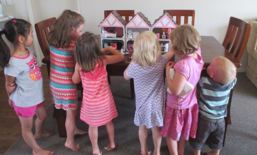
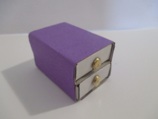
Little girls LOVE doll houses, but they can cost a small fortune. This doll house and furniture are made almost entirely of recycled materials, so it costs almost nothing! You can even make dolls to “live” in the house. It is sure to delight the little girl in your life, whether she is your daughter, granddaughter, or even niece! It is much too fragile for a 2 or 3 year old, and not safe, since small pieces could be swallowed or choked on. However, a careful 4 or 5 year old can spend many happy hours playing with it. An artistic 8 or 10 year old can make it all, with a little help, so it can be a fun project to work on together. Just be sure to make a safe place to play out of reach if there is a crawling baby or toddler in the house.
Crafts > Crafts for Adults by materials > Tissue box doll house
Crafts > Crafts for Girls > Tissue box doll house
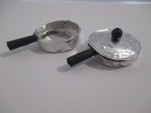

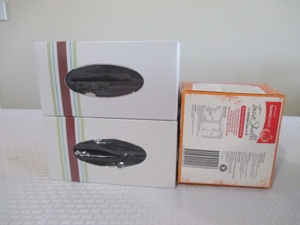
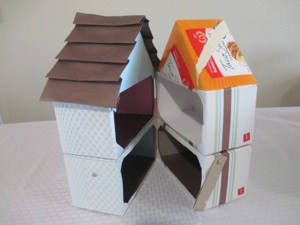
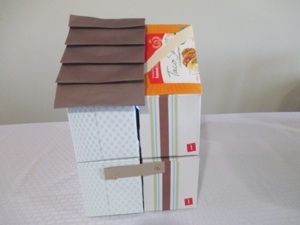
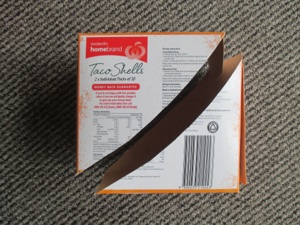
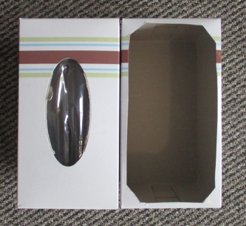
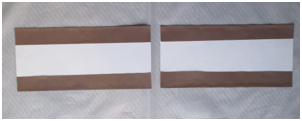
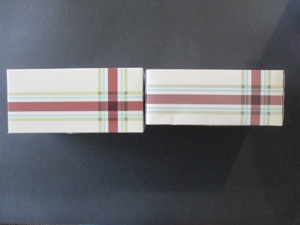
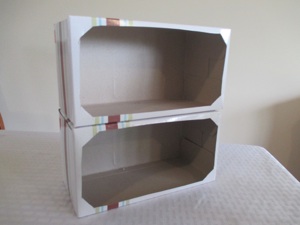
This house has been made out of empty tissue boxes for each room, and a taco shell box for the roof. Corrugated boxes will be sturdier, but these work, too. Use whatever boxes you normally buy things in.
Tissue boxes come in different depths, so obviously the deeper it is, the bigger the room will be. If you can only find shallow tissue boxes, then look for a different kind of box, one that will make a good size for a room for a doll.
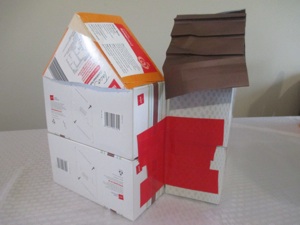
This square box was exactly the right size to make a roof on top of the tissue box. If you can’t find a square box, find one that you can cut 2 corners off that would be the right size to fit on top.
If you cut off the front panel and glue them together, the floor is quite week--it bends with only a little bit of pressure.
If you leave a rim around the edge of the front face, it make the box much more ridged, so the floor of the upper level will be much stronger.
Another option is to glue a piece of corrugated cardboard between the 2 layers to make it stronger.
As you design the house, you may also want to think about how much space you have and also how many children will be playing with it. If space is an issue, make it 3 “stories” high and only one unit wide. If you have more than one girl, you can make each section self standing, or make one grand house for both to play with.
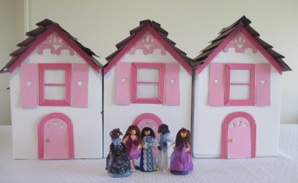
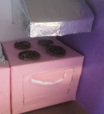
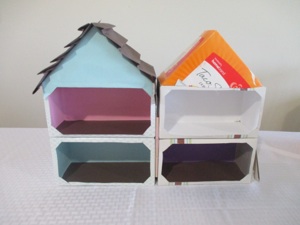
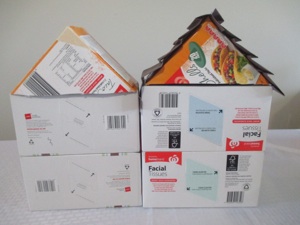
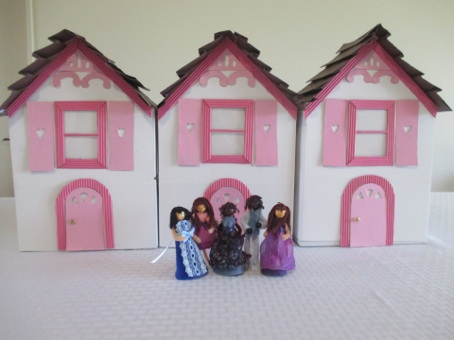
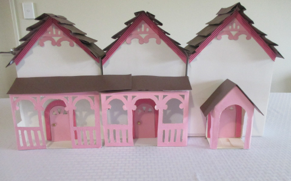
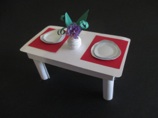
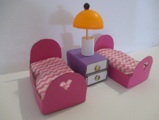
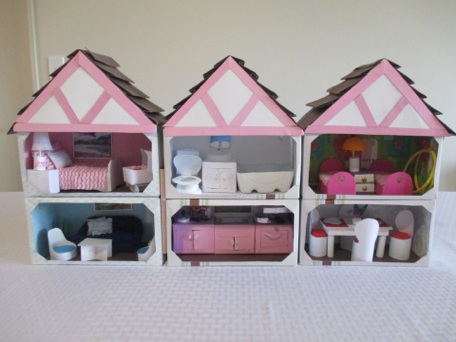
Plan the house by thinking about the rooms that you want to make. If you plan to make it 4 rooms, like the photo above, you might want to make one room into a living room, another a dining room and 2 bedrooms. If you plan to make the house 6 rooms, you could also add a bathroom and kitchen; these are rooms that kids especially like. The photos of the finished house at the top of the page is 6 rooms.
Cover the floors with brown paper, and the walls with colored paper. If you want the walls to look like wall paper, use gift wrapping paper--choose small patterns. If you are not precise cutting, there can be gaps between the wall and floor coverings. To avoid this, make the paper on the floor go up the wall a little way (1/2 inch or 2 cm.), then wherever the wall paper ends, there won’t be a gap between the floor To avoid crumpling the paper, put glue on the box, then press the paper onto the wall.
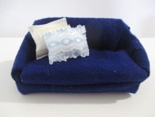
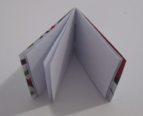
If you make only 2 sections, they can be folded shut to look like a whole house. This is convenient for storage, or for moving, so you don’t loose pieces when it is being moved from the dresser top to the dining room table.
Tape the two sides together on one side. Another option is to glue a piece of paper across the two sides.
Make a latch on the opposite side with 2 brads (paper fasteners) and a piece of thin cardboard. Fasten one end onto the house with a brad, and cut a notch on the other end of the cardboard strip to slide over the other brad that is fastened to the wall of the other side of the house.
Make a roof with 2 pieces of colored paper. Fold the sides in to fit the boxes, but with some overhang for the eaves. If you plan for the house to fold closed for storage, make the eaves hang over the front, but make them even with the edge that will be folded closed. Otherwise the eaves will crumple each time you close the house.
Glue them end to end, and fold the 2 ends over and glue them.
Fold them to look like shingles-- accordion folds back and forth, but alternating short sections with long sections. Glue onto the roof. Make one roof for each section of house that you make.
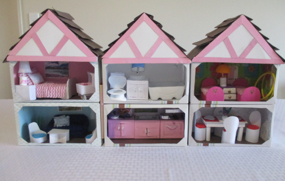
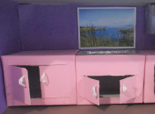
The inside of a 6 room house
The outside of a 6 room house

Front view of a 4 room house
Back view of a 4 room house